Saturday, December 24, 2011

Hang 'Em High and Wide

After a bit of trial and error, we managed to get the window treatments figured out for the front room. I hung the curtain rod so that the curtains would touch the floor, but once I swooped the curtain over the tie-back, the curtains no longer skimmed the floor. Not to mention that the curtain rod looked awkward being in line with the trim. I also decided that the windows looked bare with just one panel, so I went to Target and bought some faux-wood blinds to add some depth and extra privacy. This was definitely key. With Chris's help (apparently drilling into oak trim requires more force than I could muster) I hung the shades and brought in the rich wood tones the room was lacking.


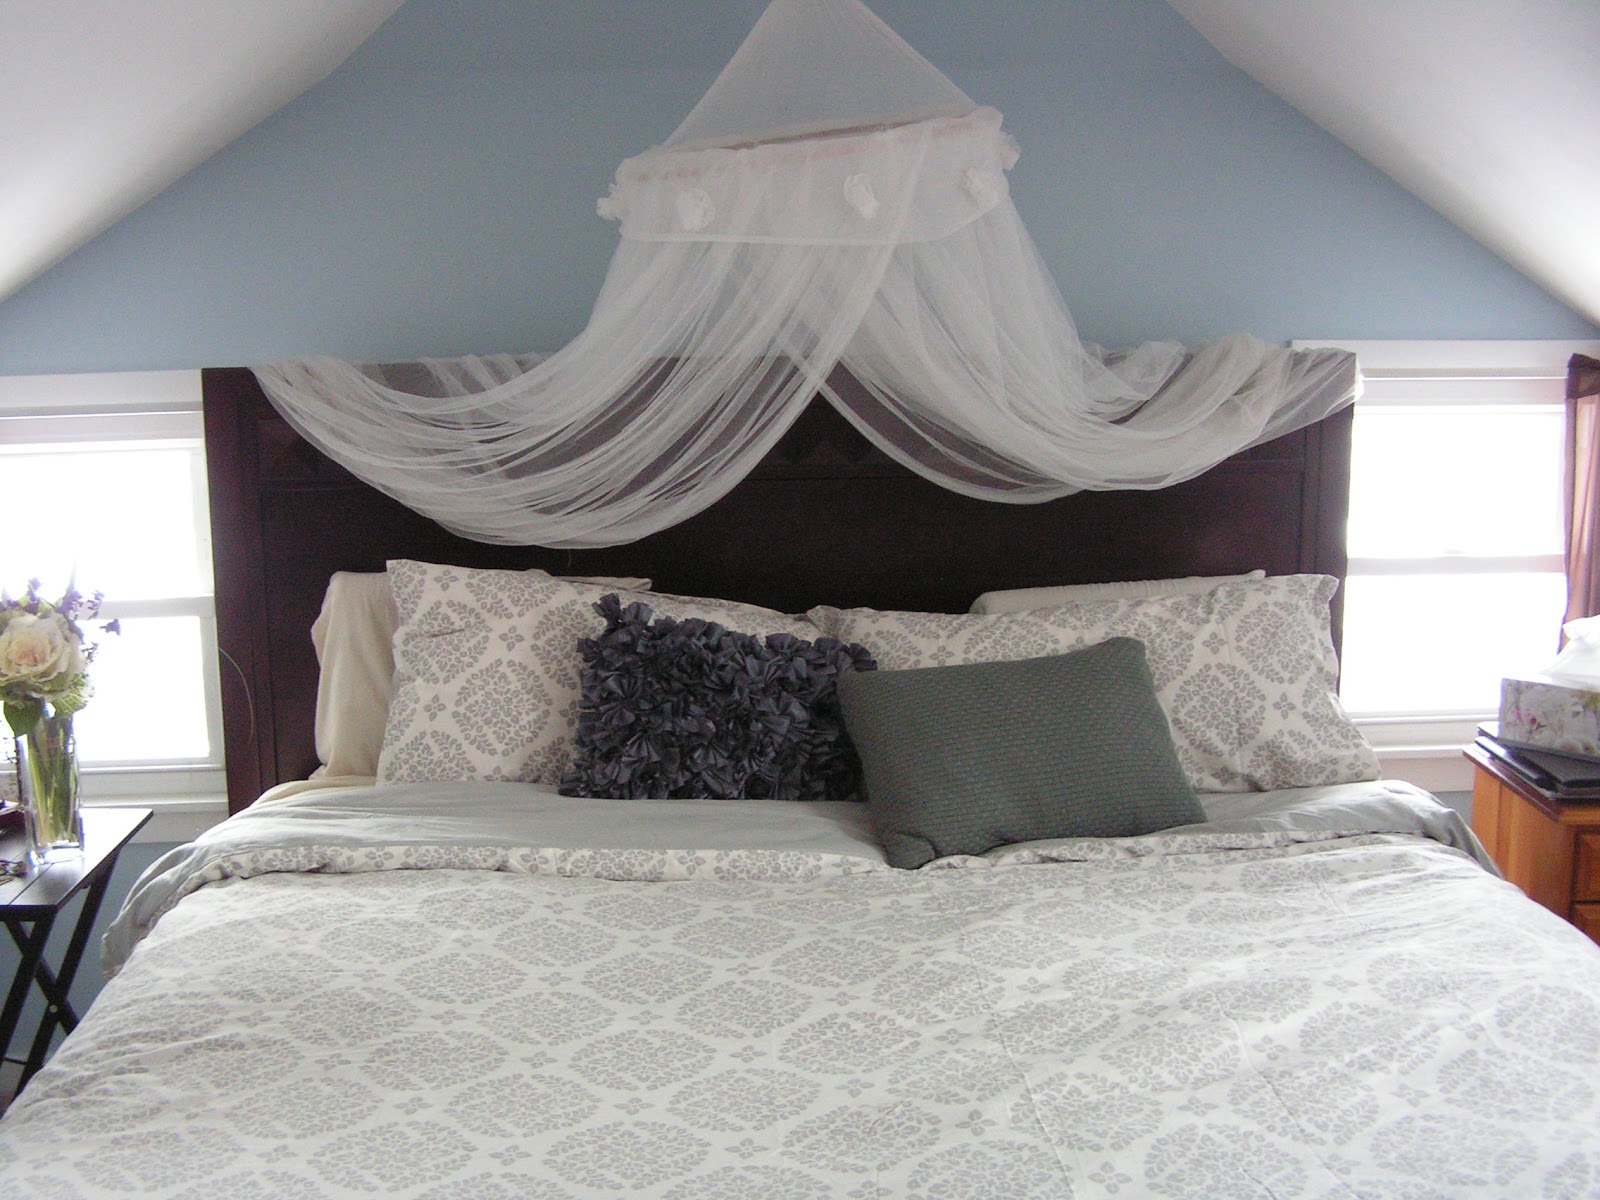
The windows with the new shades and the curtain rod where I hung it originally.

Next, I took down the curtain rods and rehung them several inches higher to open up the space and create the illusion of taller ceilings.


Here you can see where I switched the curtain rod on the left, compared to the original height on the right.

Much better.


So now the curtains hang well above the floor and the trim, which I think looks more intentional than if they were just an inch or two too short. Now they are basically window length instead of floor length. While I would have preferred floor-length curtains, I loved the colors of these curtains too much to pass them up for longer ones.

I patched up the original holes and now I just have to wait for them to dry so I can retouch the paint. And then the window treatments are all finished. Yay!

We bought a Dremel this week, and I'm excited to get started on the bookcases. Once I carve out the shape of the baseboard at the backs, the bookcases will stand flush against the wall and look amazing. Then it's on to cutting down and installing the shelves. A DIY girl's job is never done!

Merry Christmas Eve!
Pin It

Friday, December 23, 2011

Cozying Up the Place

I've had a few Target gift cards burning a hole in my pocket for a while now. I've been trying very hard not to spend them just because I can. They were from the bridal showers, so I knew I wanted to use them on stuff for the house, but I wanted to wait and find something I really wanted.

Well, I found it. I stumbled across a gorgeous duvet cover in greys and whites that would be perfect for covering up that massive brown comforter we have, which is pictured below.


I also snagged some super soft flannel sheets in a creme color and a white bedskirt from the Shabby Chic collection for $30 total. (And a couple really cute throw pillows that weren't on sale, but were too cute to pass up). Then I just put it all together and added the mosquito netting that we had downstairs on the front porch. I may not end up leaving it there, but I do like that it adds some height to the room and breaks up the massive brown line of the headboard.


I love the pattern on the duvet cover and shams though. It's sort of exotic and serene at the same time.


I still want to replace the curtains, possibly with some sort of custom rod system that would cover the whole back wall. And I want to repaint to a more grey color and paint the slanted walls to match. Also, a night stand that isn't a TV tray would be nice, as well as some matching table lamps. But for not very much work and a couple gift cards, I'm happy with this mini makeover.


And these are just some pretty flowers I bought at Wegmans. :-)


Pin It

Monday, December 19, 2011

The Great Bookcase Project Continues (Part 1)

I finished painting the bookcases and they look really nice and clean and free from spiders. haha Lowes cut some white laminate shelves for me, though I still need to take the circular saw to them and cut them back so they aren't so deep. But that'll add 6 more valuable spots for storing supplies.


Before we do that, however, there's a few tweaks we have to make to ensure we do this project "the right way." As you can see in the picture below, we have an extension cord running behind one of the book cases. It's one of the few 3-prong outlets in the house and currently powers my computer in the living room. We need to upgrade some of the outlets in the living room so we can use them without running this big extension cord through the house.

In addition, the baseboard and quarter round around the front room causes the book cases to sit about 1 to 2 inches away from the wall, which isn't a very nice look. We would like to cut notches out of the back of the book cases to fit against the baseboard so the back of the book cases are flush with the wall. This will help them look more like actual built-ins. Also, it'll make it easier to anchor them to the wall at the top to ensure stability.

I upgraded the hardware on the doors. I found a set at Target that matches the knobs I put on our built-in dressers in the master bedroom, except in a darker finish that pops against the white furniture and gold walls. Installing the new hardware was actually a little tricky because the doors were so thick. The screws wouldn't reach the knobs through the wood, so I had to take a drill with a bit that was larger than the screw heads and drill out pockets for the screws to rest in. I also replaced the original pulls with knobs, so I had to putty the second set of holes for a seamless look.


Haven't got around to hanging the curtains yet. But you can see the color and pattern of them draped over the treadmill. haha This view is looking out toward the front porch through the window. You can see the living room through the doorway. I also bought extra valances to cut up and make panels for the doors to add a splash of color to the all-white book cases. More on that to come.

Dave's Birthday Weekend

We all headed out to Dave and Lisa's this weekend to celebrate Dave's birthday. We ended up taking a trip up to the cabin with little Mr. Jackson. While he did not approve of Mike and Chris cutting down trees (he started crying every time), he loved running around and clearing the pathways of sticks and rocks.


 Lisa has Jackson, Dave has Lisa. Good system.

Pin It

Wednesday, December 14, 2011

New Pages

Inspired by my new favorite blog, http://www.younghouselove.com/, I added some new pages to my own blog to make it more functional and interesting. Check these out by clicking on the tabs just under the header. I added a House Tour page with before and after pictures (ok, the house is a work in progress, so there's really no finished after pics), a Projects page of things we're working on around the house, and a handy resource page to pictures of Our Wedding to help our friends and family find our wedding pics, which I never really uploaded to this blog.

I'm hoping the House Tour and Projects pages keep me motivated to continue working on the house and making it a wonderful first home for Chris and I. Eventually, I'd like to make this blog even more of a resource for other DIYers out there, much like the Young House Love blog I mentioned earlier. For now, it's more of a personal resource, but still fun to peek at. Enjoy!
Pin It

Tuesday, December 13, 2011

Mr. Meowface Becomes Santa Paws

This weekend Chris and I headed out to Beckwith's Christmas Tree Farm, (our only annual tradition), and cut down our tree. This year we went with a Scotch Pine, which is really green and full. It has long needles, so you can't see the branches or trunk at all. It's a bit shorter than we usually get, but we think it looks nice. Maybe needs a bigger topper, though ...


The kitties were all very interested in the smell of the tree.
Oreo was just trying to avoid being turned into Santa Paws. He failed.


We also hung our stockings and picked up a gorgeous wreath at Beckwiths.

I used some trimmings from the tree to dress up my man and woman wall vases.
Pin It

Friday, December 9, 2011

Check Out this Hot New Ride

So this is my brand-new 2012 Nissan Juke SV in Cayenne Red with black and red interior. It's so fun to drive and even more fun to look at.

Yes, I know that I absolutely do not have a career as Vanna White or any other show model. I'm awkward. Just deal with it and look at the pretty car.

It has a built-in navigation system, as well as Bluetooth so I can take calls without ever touching my phone. It also has the I-CON system, which is so cool. It lets me control the car's different modes, including Eco, Normal and Sport. Each mode changes the torque and other settings so I can either get better gas mileage or really gun it off the line. haha


This is by far the coolest car I've ever been in. I'm completely in love (and completely in love with my husband for buying it for me!)
Pin It

Thursday, December 8, 2011

Spare Room for Some Spare Bookcases

I'm currently in the process of giving the spare room in our house a complete overhaul. The space was basically a big, messy closet before. So far I've taken almost everything out, painted the walls Pyramid Gold (Behr paint) and moved in 3 huge bookcases we bought for $30 at a garage sale. Sadly, we bought the bookcases hoping to just plop them in the basement for some no-fuss storage, but they were just thismuch too tall and we had to find a new home for them.

So into the spare room they went. I'm painting the bookcases white, but I'd like to do something different for the back panels and the doors. I just can't decide what to do. Here you can see them with the first coats of paint/primer on them.


Pin It

Thursday, December 1, 2011

Yes, I am a Crazy Cat Lady

Found an assortment of pictures of our kitties on my phone and thought I would share. :-)


I actually took this one with the security camera in our house. Shadow was sneaking around one evening and I caught him lurking near the camera. He looks like an alien in this picture.